Red Braided Leash
Posted on June 22, 2024
Word Count: 588
Comments
0
I’ve made dog leashes before, and decided I wanted to make something nice for myself.
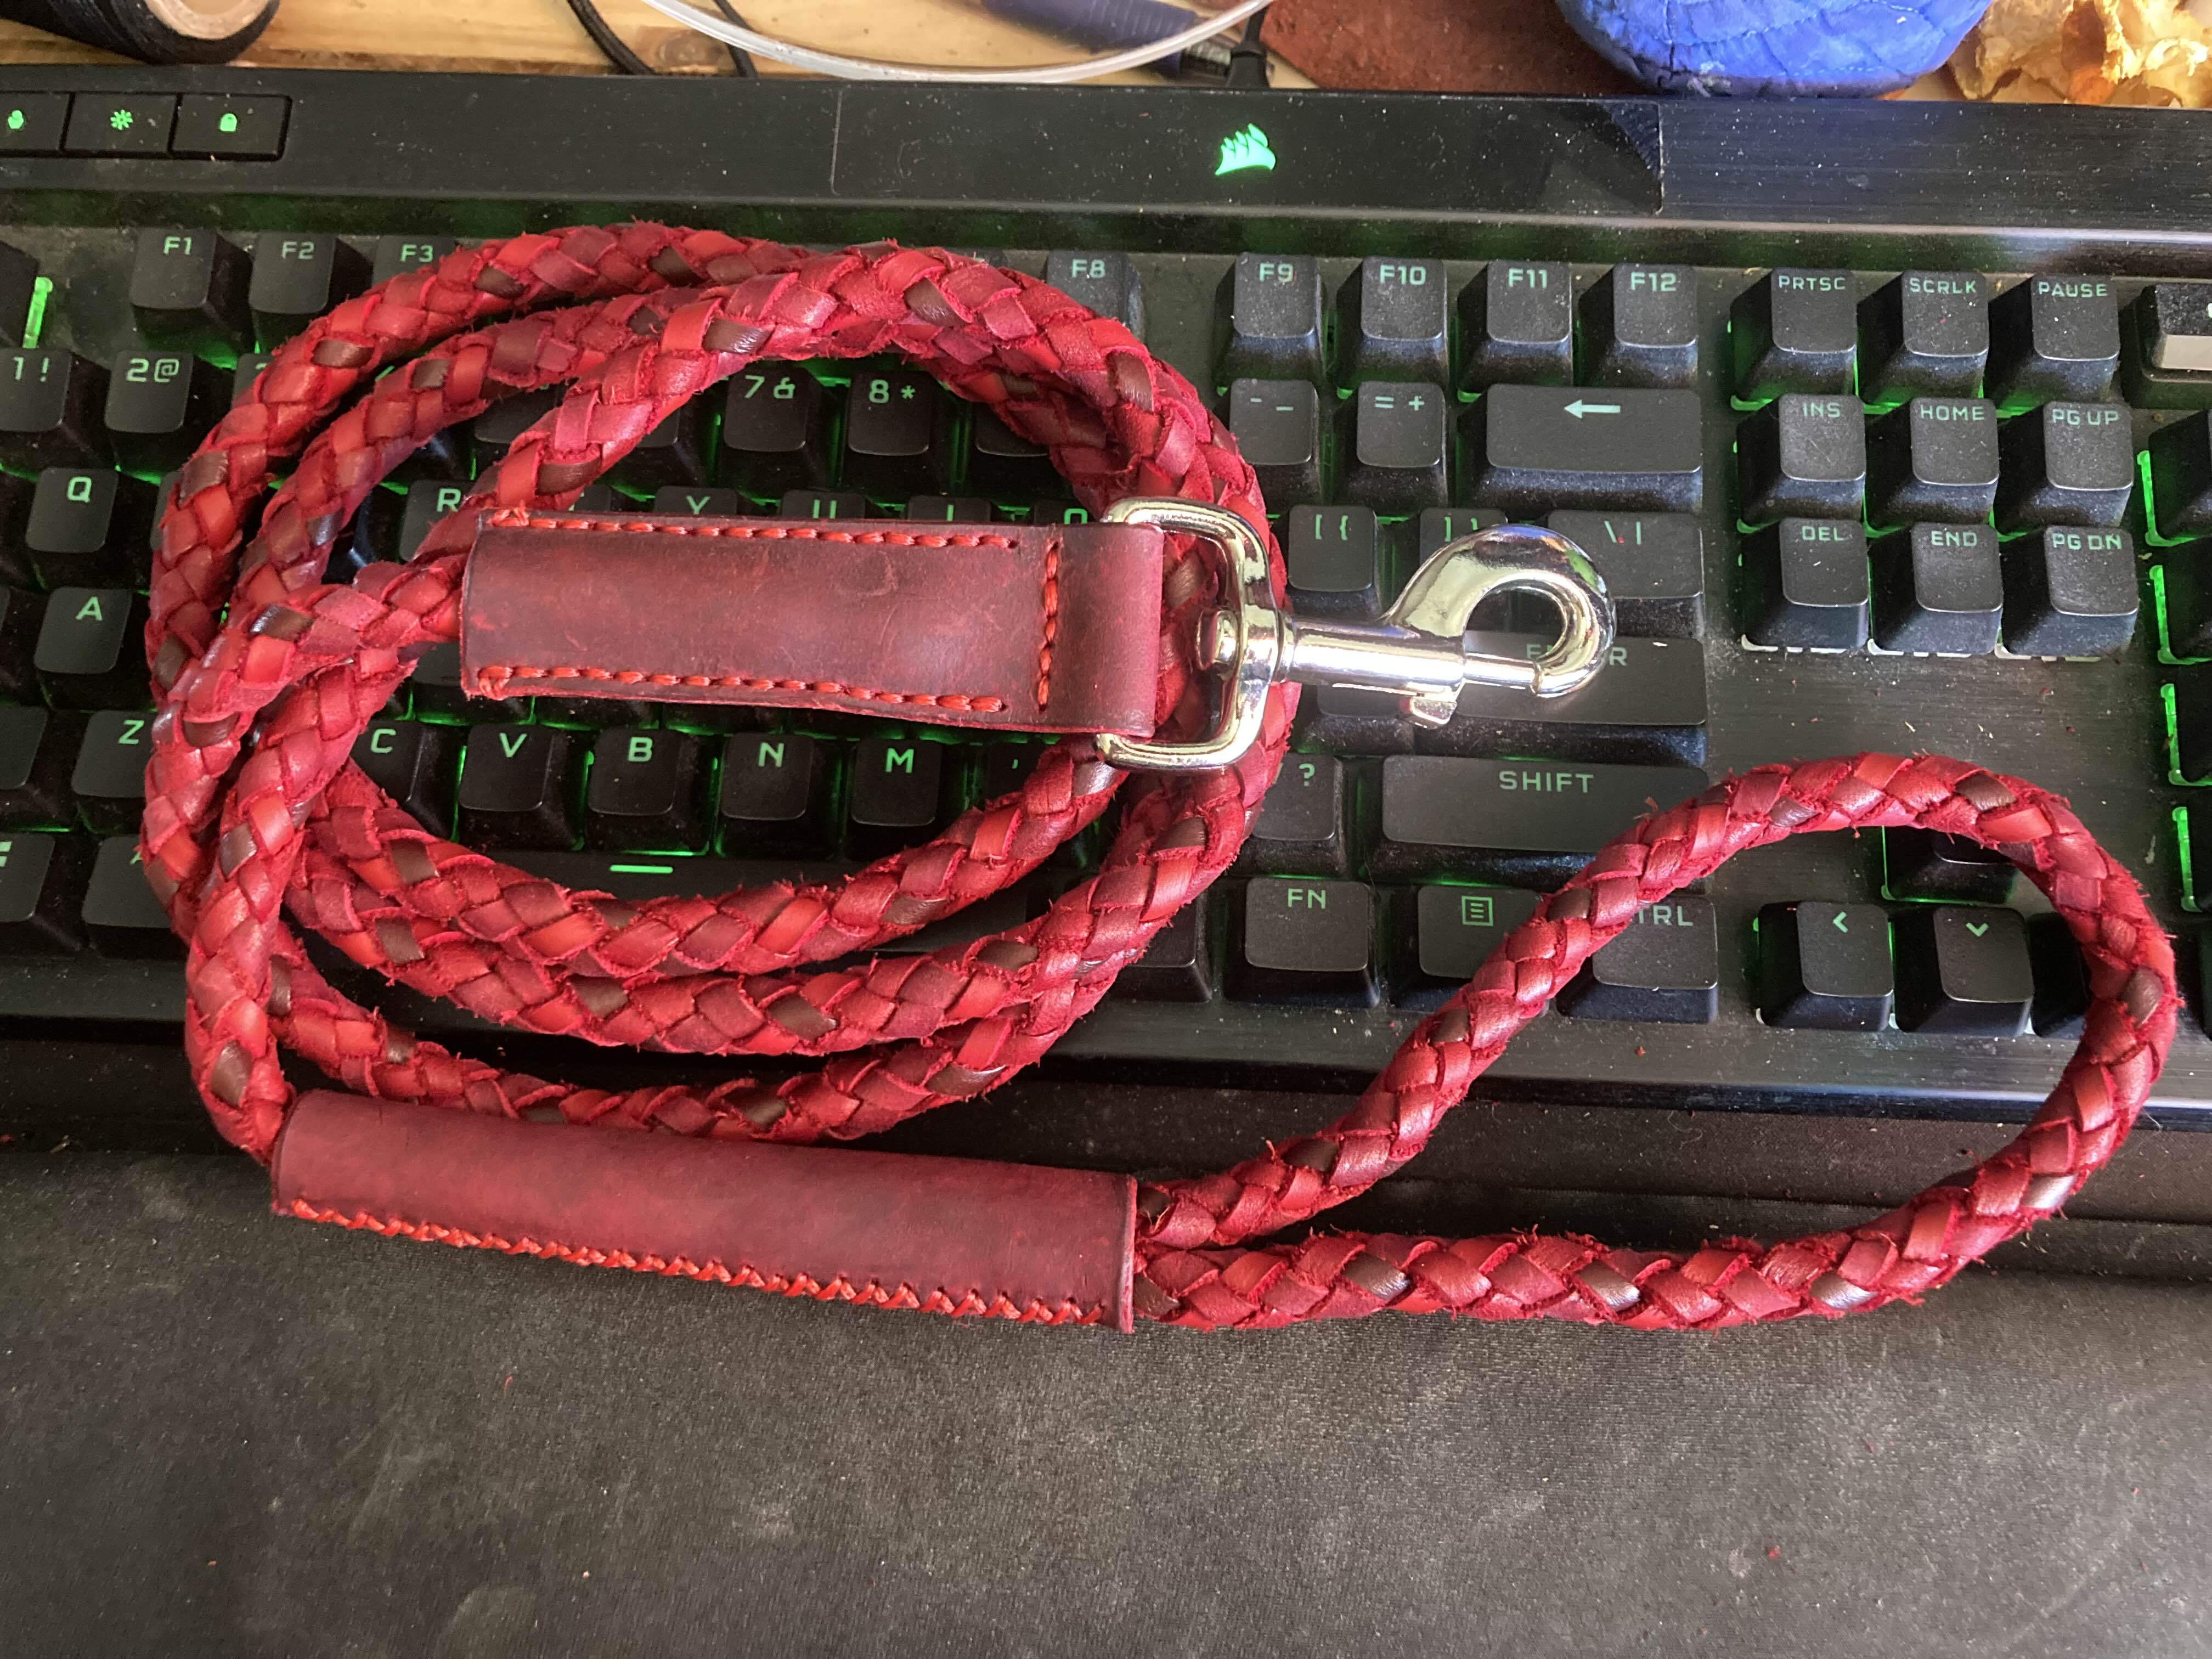
All the leather used in this piece were scraps, which I thought was really cool. I had bought a tool to make leather lace from scraps, and have used it here and there, but this was the first time I was intentionally using it for a project. I’d planned on dying some strands black but in the end everything was dyed red. The differences in the base leathers brought out some nice color variations in the reds that makes the overall color of the leash deep and interesting to look at.
The joining covers were scrap from a red (more brown than red before I added more red dye) pull-up buffalo piece I bought. It’s a gorgeous leather on its own and because it was a heavily oil-tanned hide, I really didn’t know how it was going to take to being dyed further but it’s fucking beautiful.
The buffalo pieces are a special oil tanned process where the leather is stuffed with so much oil that it changes colors as you move it. When you stretch or press on it, it looks distressed, but over time goes back to its dark base. It’s very pretty and with the red dye on it it still has those properties and is even more pretty to look at. It also feels amazing on the leash.
The red is definitely on the surface, not penetrating too deeply into the buffalo leather, but I wasn’t able to wipe off any more from it than I could from other leathers. So it should be a permanent red, although some of the red may still rub off on to things because there’s only so much patience I have for trying to clean off the dye. Oh well 😅
The lace was used in a 6-strand round braid, wrapped around a thin (1/4”?) cotton rope core to ensure the leash would feel solid and sturdy. This way, if it gets pulled hard the strength is in both the rope and the leather together, not just the leather alone. The rope felt strong enough on its own so it should be more than fine for long-term pulling and yanking.
After the initial braiding I went along each strand and tightened it up, so the braid would be solid against its core and feel sturdy. Leather will stretch over time so I wanted it to be nice and tight to begin with, with minimal excess for it to loosen up with. This resulted in a solid looking and feeling leash.
The buffalo cover pieces are glued in place with contact cement and hand-sewn, as always. The piece that holds the braid in place to the leash clip is nice and long to give the glue and friction lots to grab onto because other than one single stitch going through it, the rope isn’t sewn in place at all – it’s all contact cement. It feels very secure.
All in all I’m pretty happy with this.
Tim had wanted a long leash for me and it’s approximately 6ft long which is standard leash length.
My hands kind of ache from the braiding. And my fingers are dyed pink. But I’m really happy with how this came out.
WIP pic below. You can kind of see the red cotton core underneath the tangle of leather lace. I dyed that, too, so if the leather separated at all you wouldn’t see white poking out underneath.

Comments
There are currently no comments on this article.
Comment